Information Technology Solutions

VMWare Horizon Client setup instructions

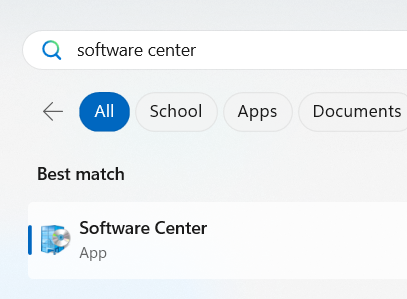
  1. In your Windows search box, type Software Center, and then press the Enter key (or click the search result).
    search software center

    NOTE: Open the Software Center Help Resources page for additional information about installing and updating applications.
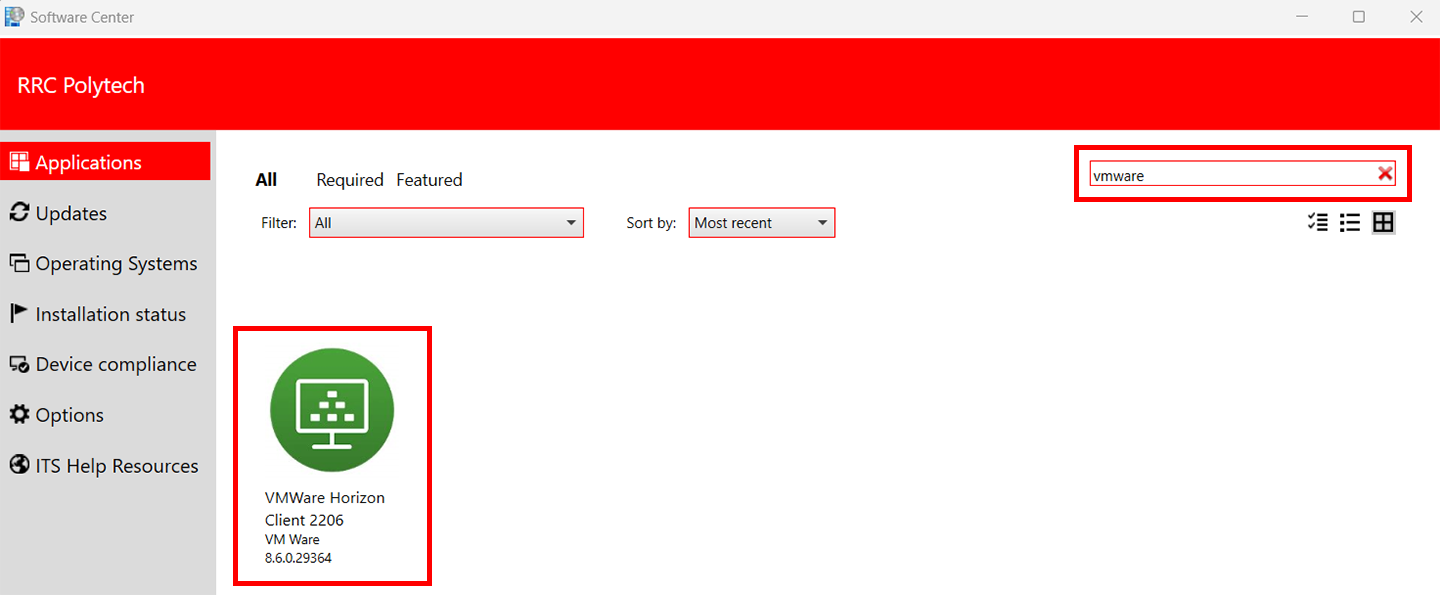
  2. On the Applications page, click VMWare Horizon Client.
    search for and click vmware horizon client
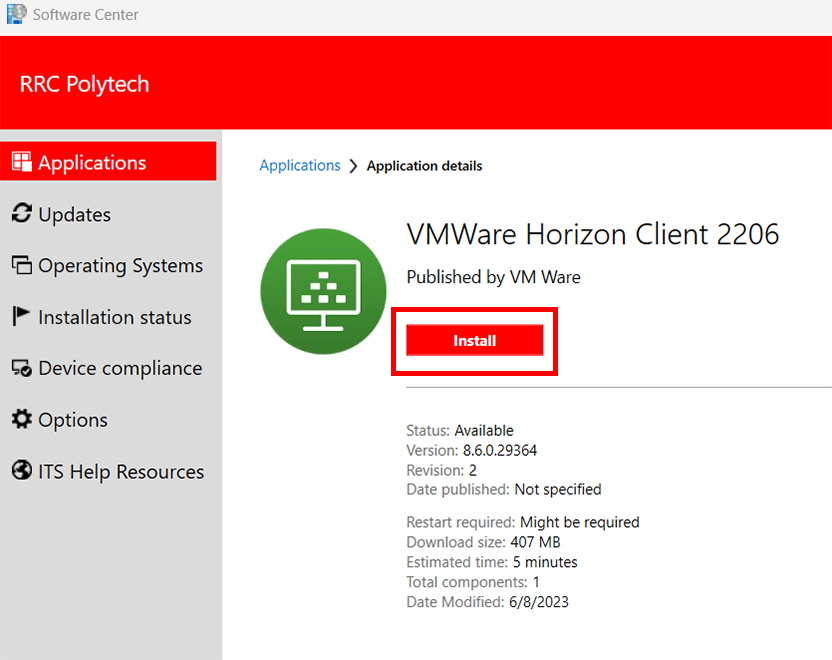
  3. On the Application details page, click Install.
    click install
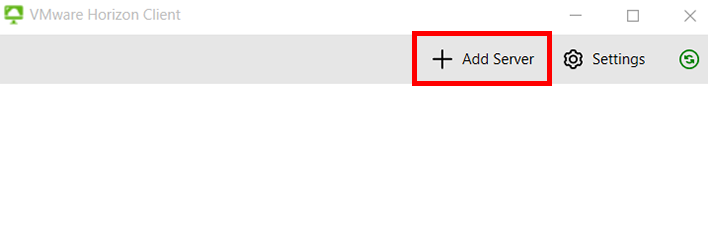
  4. On the VMware Horizon Client window, click + Add server.
    click add server
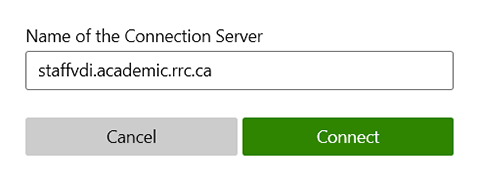
  5. Enter staffvdi.academic.rrc.ca, and then click Connect.
    enter staffvdi and click connect
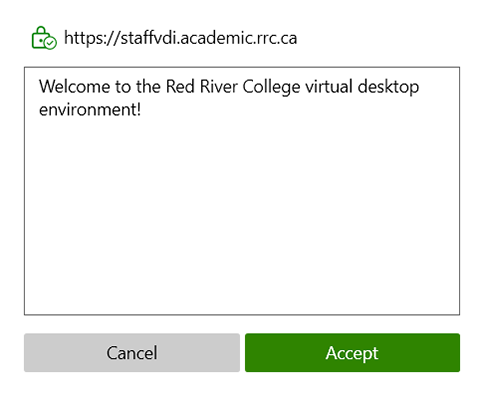
  6. Click Accept.
    click accept
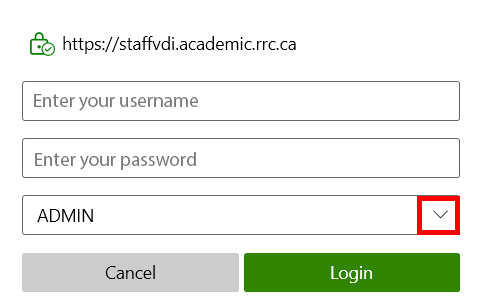
  7. Enter your College username and password, use the drop down to change it to Admin, and then click Login.
    enter staffvdiacademicrrcca and click connect
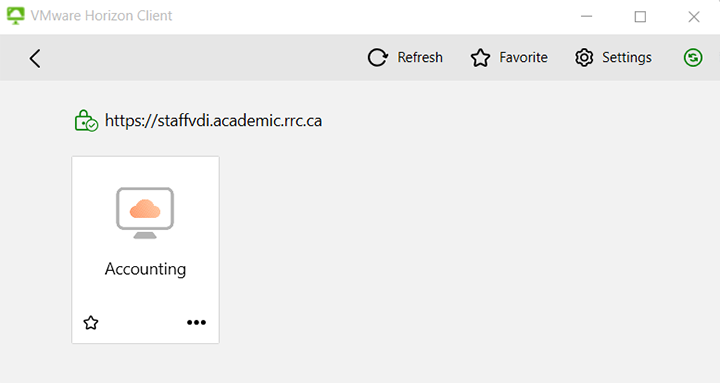
  8. Double click the VDI (virtual desktop interface) you just added.
    double click the vdi listed

    IMPORTANT: You cannot save anything to the VDI Desktop or to File Explorer. Save your work to OneDrive in order to access it later.

Access your VDI after set up

  • Search for VMWare in your Windows search box.
  • Click on the desktop shortcut for VMWare.
  • Pin VMWare onto your Start menu or your taskbar.

← Back to Help Resources

RRC Polytech campuses are located on the lands of Anishinaabe, Ininiwak, Anishininew, Dakota, and Dené, and the National Homeland of the Red River Métis.

We recognize and honour Treaty 3 Territory Shoal Lake 40 First Nation, the source of Winnipeg’s clean drinking water. In addition, we acknowledge Treaty Territories which provide us with access to electricity we use in both our personal and professional lives.

Learn more ›