Information Technology Solutions

External file sharing

These instructions are for both College staff and College students. It is arranged into the two different processes, as follows:


College staff or student sending a file externally

  1. Log on to HUB, locate Applications, then click Office 365(office 365 icon).
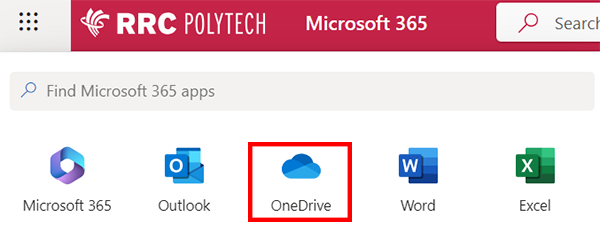
  2. When Office 365 opens, click the App Launcher icon (app launcher icon) at the top, and then in the app details window click the OneDrive icon (onedrive icon).

    app details

    Optional location is to click Appsin the left side menu, and locate the OneDrive icon.

    app menu

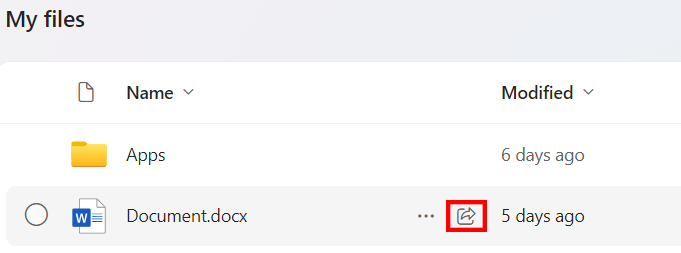
  3. Locate the file you want to share in the document name space, and then click the share icon (share icon).
    share icon in document name
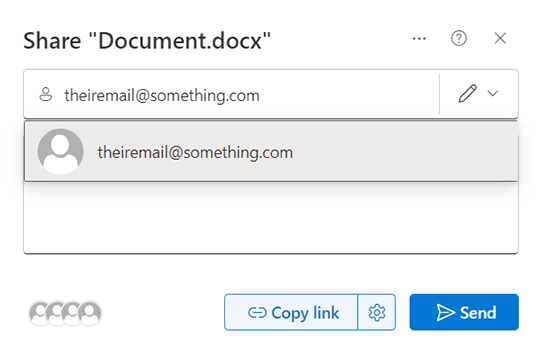
  4. Type the email address where you want to send the file, and then click the result.
    type in email and click result
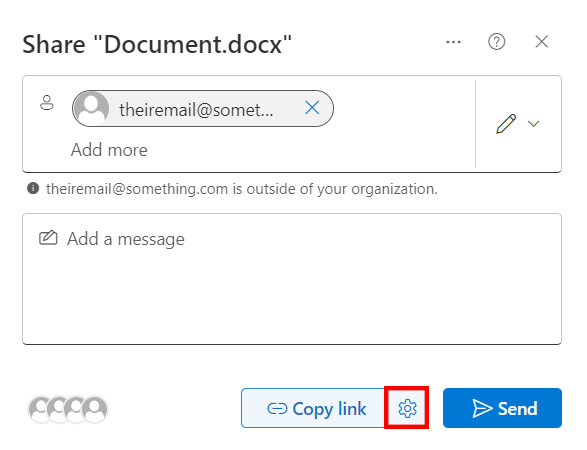
  5. Click the gear to choose your share option.
    choose share options
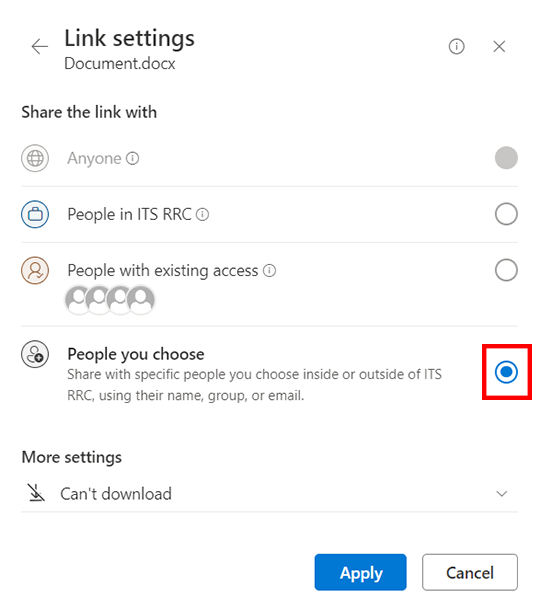
  6. Make sure the option People you choose is selected.
    select people you choose
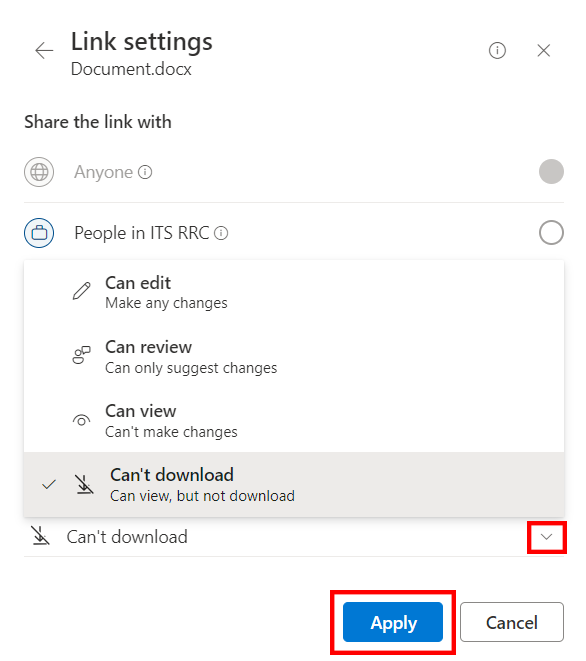
  7. Click the dropdown, select the share option from the list below, and then click Apply.
    • Can edit – Make any changes
    • Can review – Can only suggest changes
    • Can view – Can’t make changes
    • Can’t download – Can view, but not download

    share file options

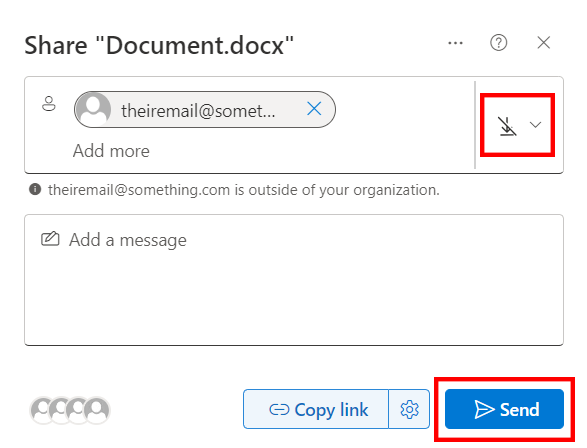
  8. Confirm the share option in the top right of the window, and then click Send.
    send once share option confirmed

    You will receive confirmation that you sent the file share to that email address.
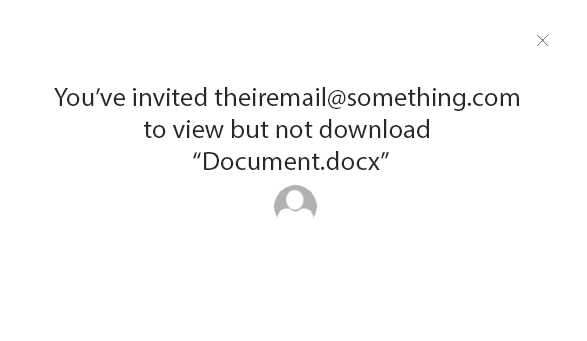
    confirmation of send


External person receiving a file

  1. Open your email address that you provided to a College staff member or a College student.
  2. Locate and open the email sent by them, that has a subject worded as “User Name shared “File name” with you”.
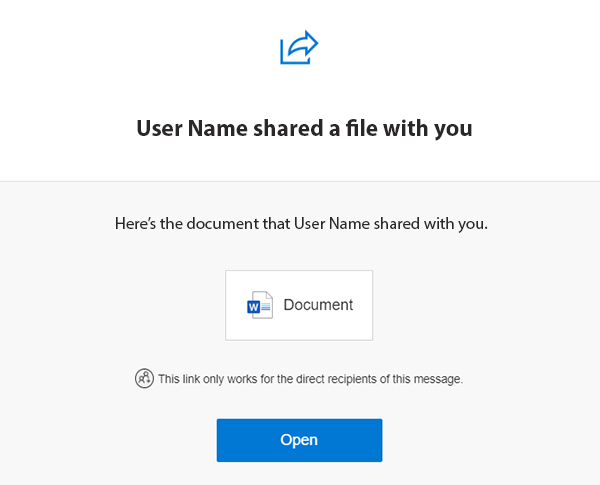
  3. Your message will be worded similarly. Click Open.
    click open
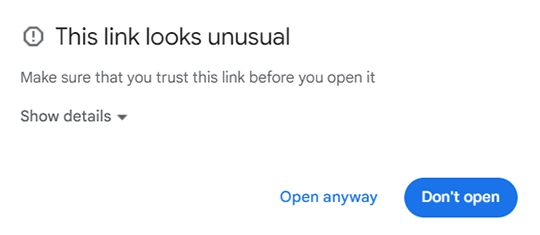
  4. Microsoft security might provide you a warning as they might determine that the links looks unusual. Click Open anyway.
    open anyway
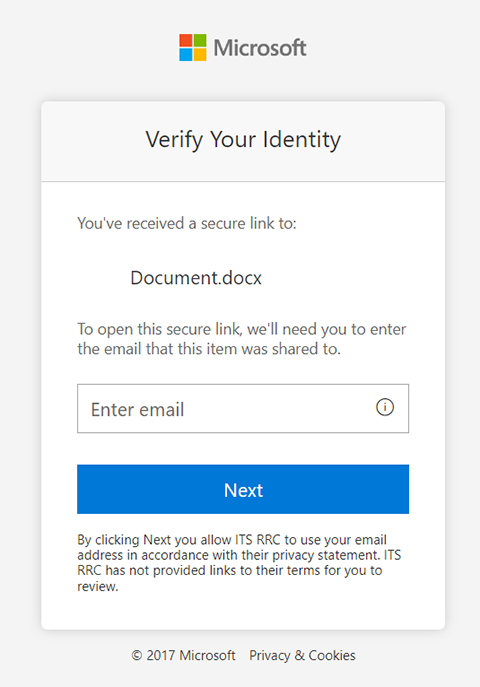
  5. Type in the email address that the file was shared to, and then click Next.
    enter email click next
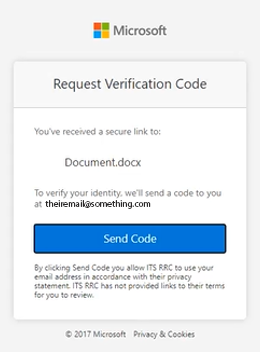
  6. A web browser will open indicating that you have received a secure link to a file. To request a code to verify your identity, click Send Code.
    request code
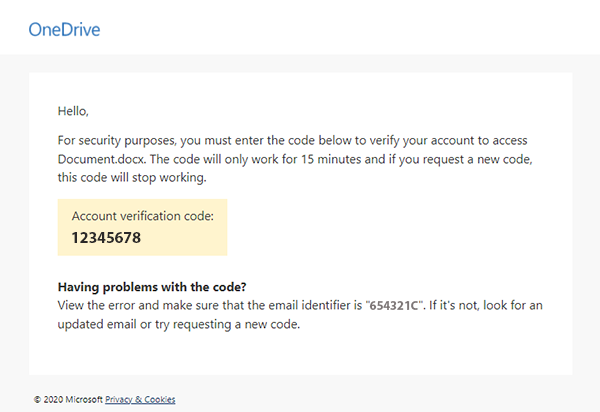
  7. Copy the Account verification code you receive into the following step.
    copy the code and enter it into the next step
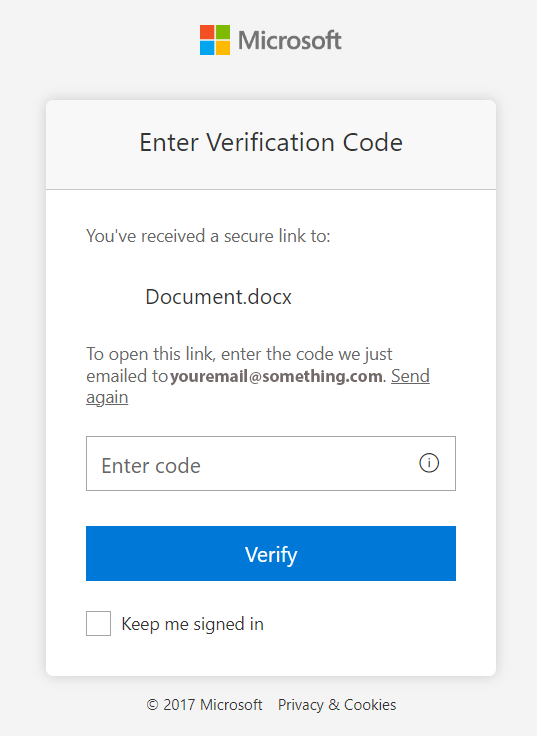
  8. Paste the code from the previous step into the section, and then click Verify.
    paste the code and click verify

← Back to Office 365 (OneDrive & OneNote)

RRC Polytech campuses are located on the lands of Anishinaabe, Ininiwak, Anishininew, Dakota, and Dené, and the National Homeland of the Red River Métis.

We recognize and honour Treaty 3 Territory Shoal Lake 40 First Nation, the source of Winnipeg’s clean drinking water. In addition, we acknowledge Treaty Territories which provide us with access to electricity we use in both our personal and professional lives.

Learn more ›