


Outlook on the Web is a web-based email client that is part of Office 365. It provides a similar look and functionality as the Outlook desktop application that comes with Microsoft Office. You can use Outlook on the Web to access your staff email from any computer or device (Apple or Android) that has an Internet connection, even if the device does not have Outlook installed on it.
You can scroll through all of these topics, or click the following links to navigate directly to the area you need help with:

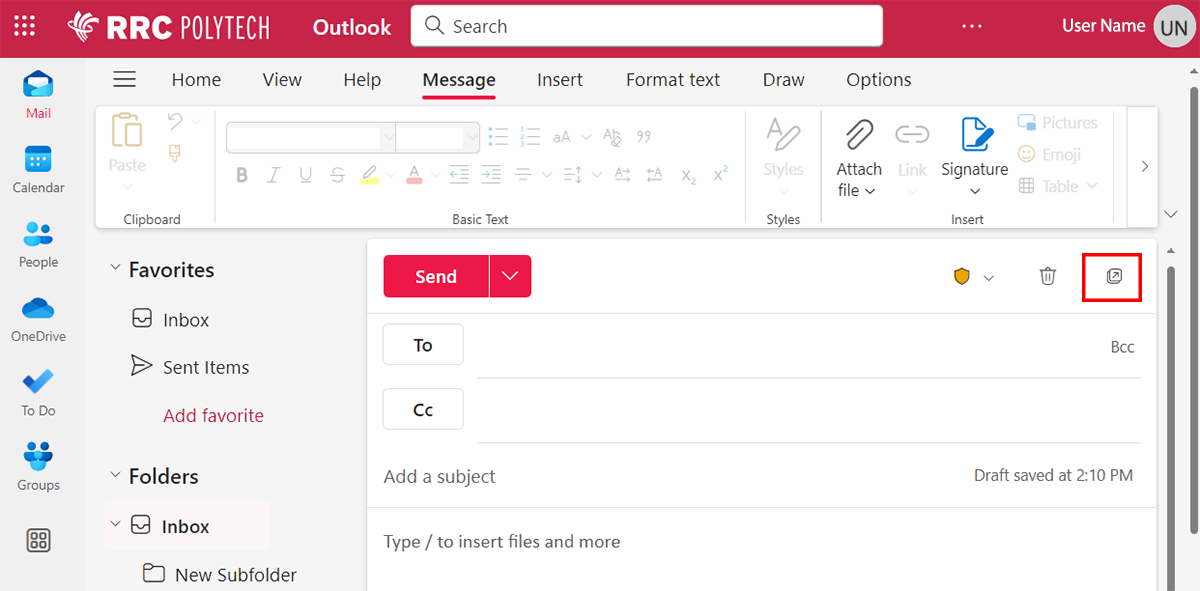
Whether you create a new email or reply to or forward an email, the email will open covering your inbox. This allows you to quickly compose or reply to emails without opening a new window.
If you would like the email to open in a separate window, click the icon on the right side of the email. The icon is located within the highlighted box in the image below.
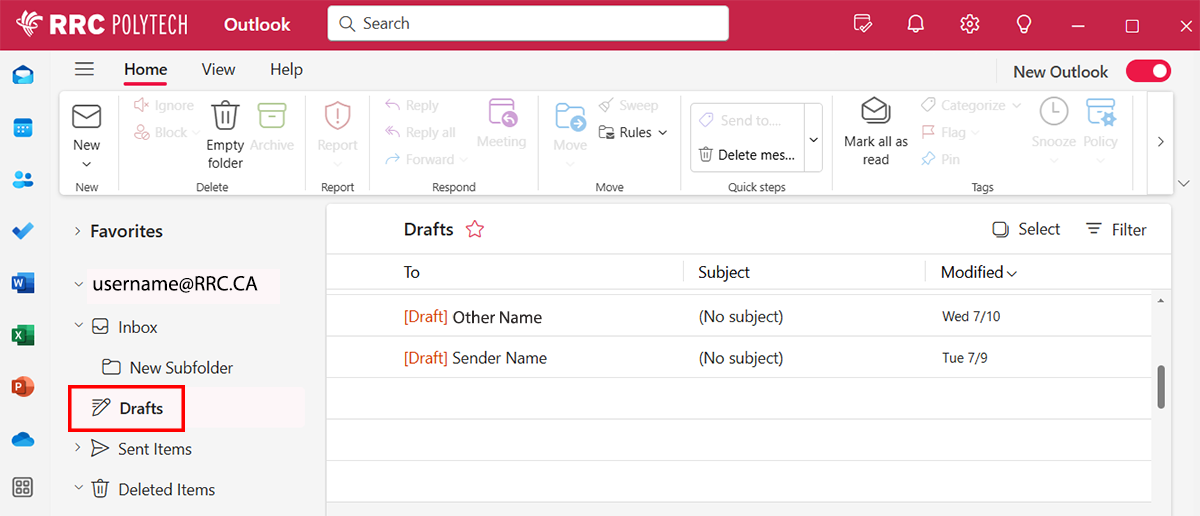
The Drafts folder in Outlook on the Web is similar to previous versions of Outlook Web App and the Outlook desktop application. While you are typing a new email, the application is automatically saving a copy to your Drafts folder. If you open another email item or close out of your email session purposefully or accidentally, your email will be stored for you in your Drafts folder.
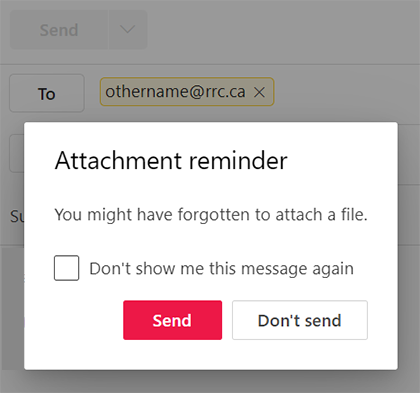
Outlook on the Web has an intuitive feature to alert you to attach a file. This happens because Outlook on the web interprets the text in your email and displays a warning message that you might have forgotten to add an intended attachment. This image will appear, after you click Send. You can click either Send if no attachment is required or Don’t Send so that you can insert a file before sending.
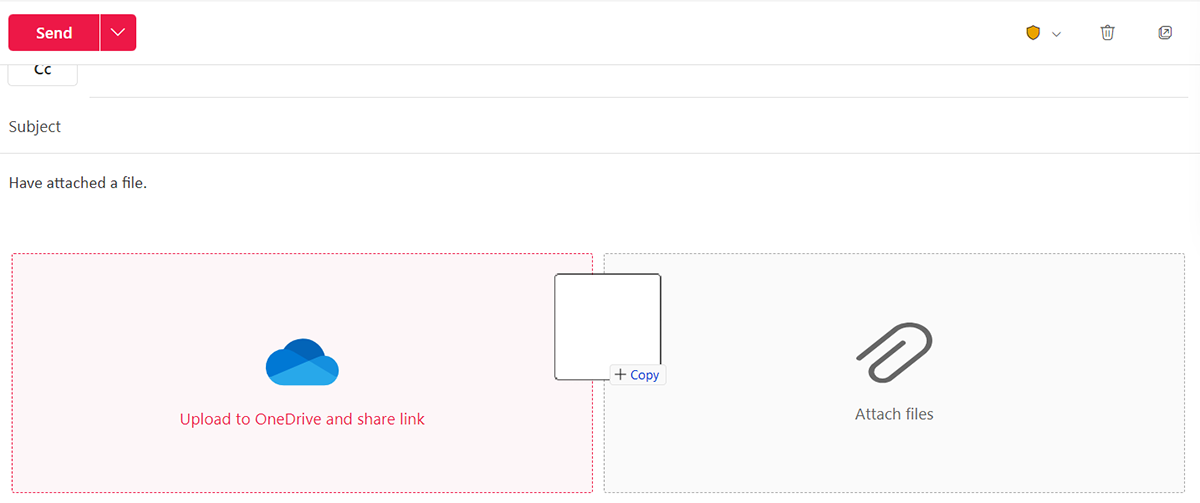
Outlook on the Web allows you to drag and drop files into a new email, reply email, or a forward email. This feature works whether your email is over top of your inbox, or if you have opened it in a separate window.
When you drag your attachment into the body of your message, you will see two options:
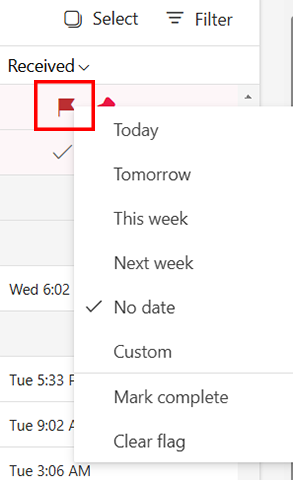
Hover over an email and then locate the icons on the right side under the Received heading. You can:

Right click the flag to open options for start and end time, to mark complete, or to clear the flag.
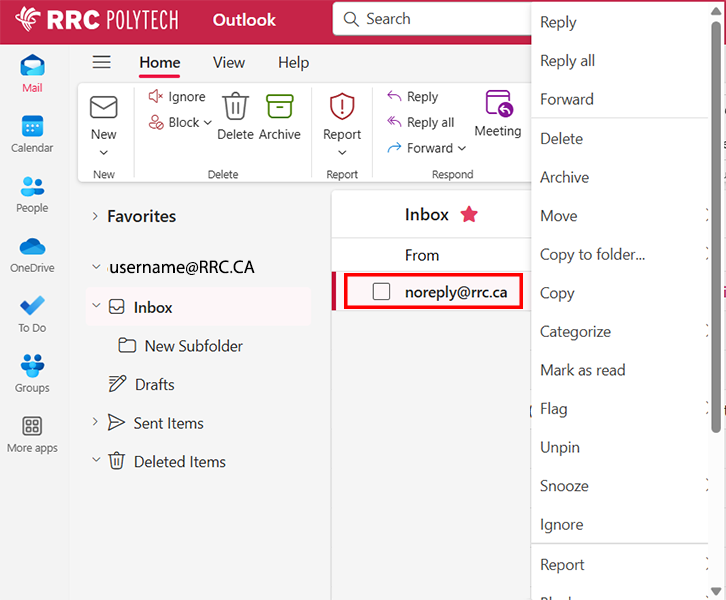
Right click any email to open more options, including: reply, reply all, forward, delete, move, copy, categorize, mark as read/unread, create a rule, amongst many others.
To select consecutive multiple emails click the first one, then while holding Shift on your keyboard, click the last item, to delete or manage them with Email options.
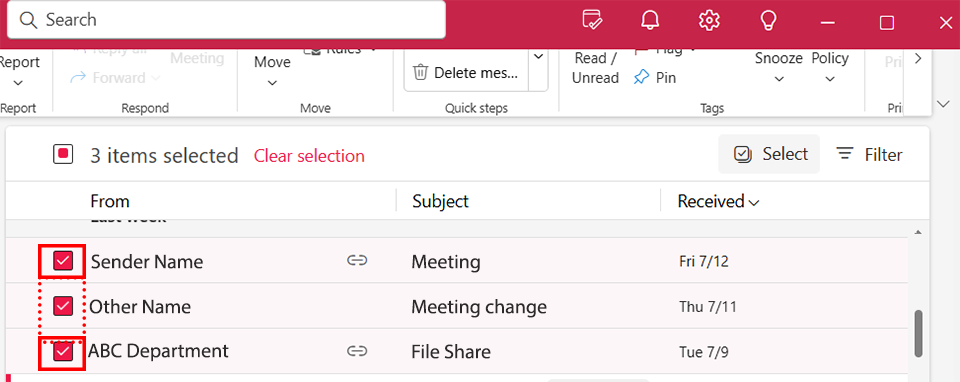
To select emails separated by other emails click them individually, to delete or manage them with Email options.

Outlook on the Web provides you many different options for how you use and manage your calendar. The Home and View tabs provide these and other options.
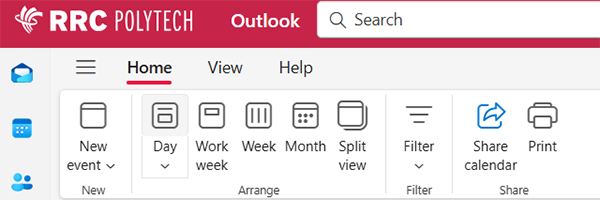

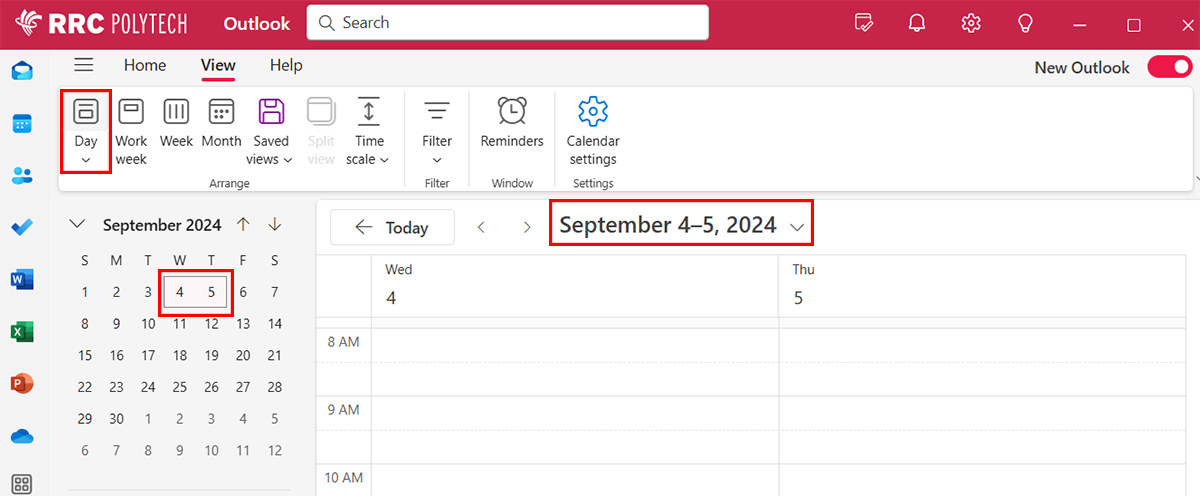
Click Day and then select the option you prefer or require to open the information.
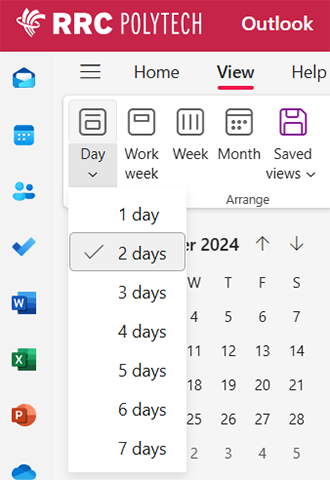
An example of two days is shown.
This example shows a Monday to Friday work week.
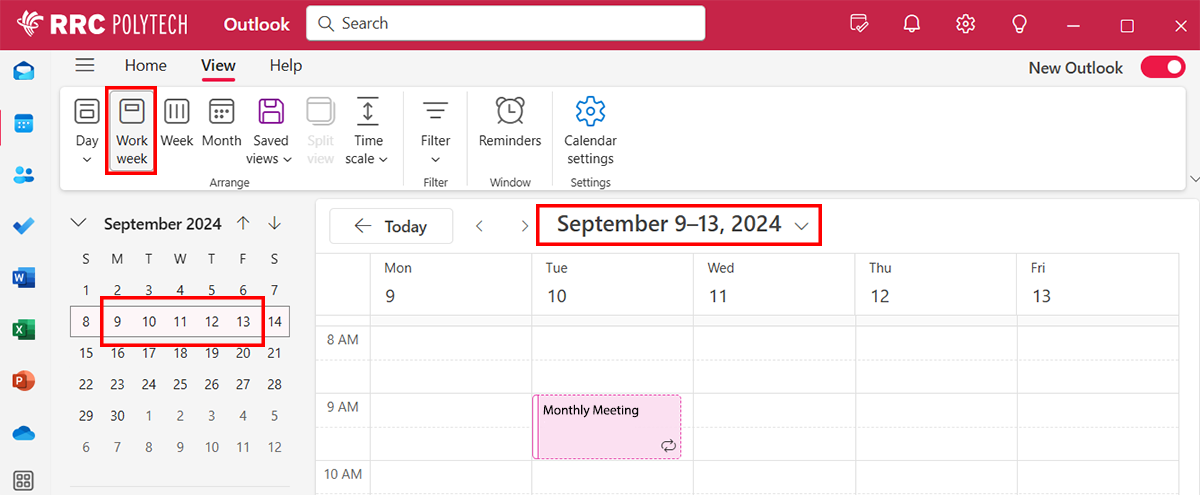
To change your first day in a work week:
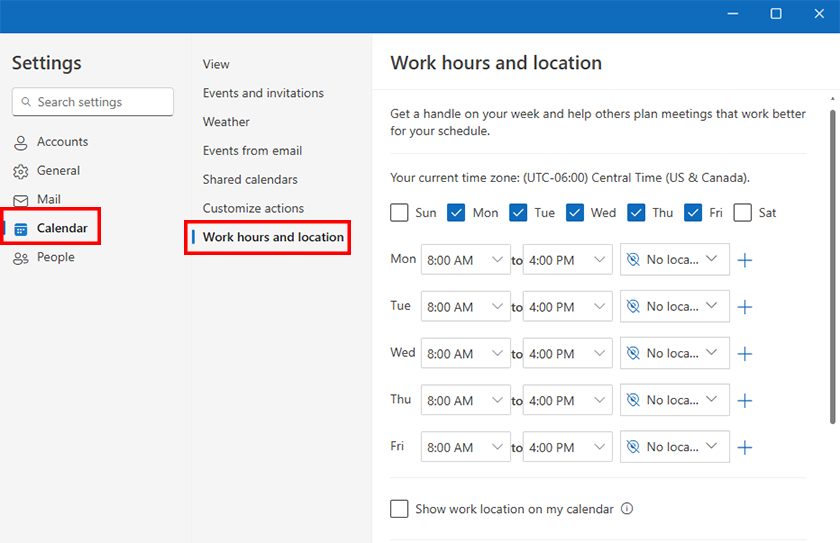
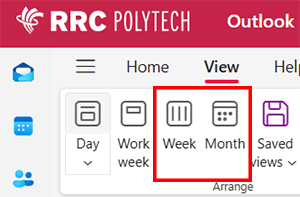
These two individual options present the typical Sunday to Saturday week and the current month will be displayed.
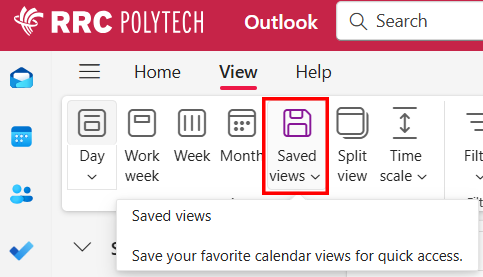
Click Saved views to keep a view of your liking.
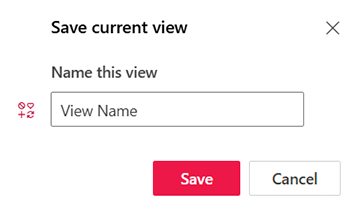
Name the view and then click Save.
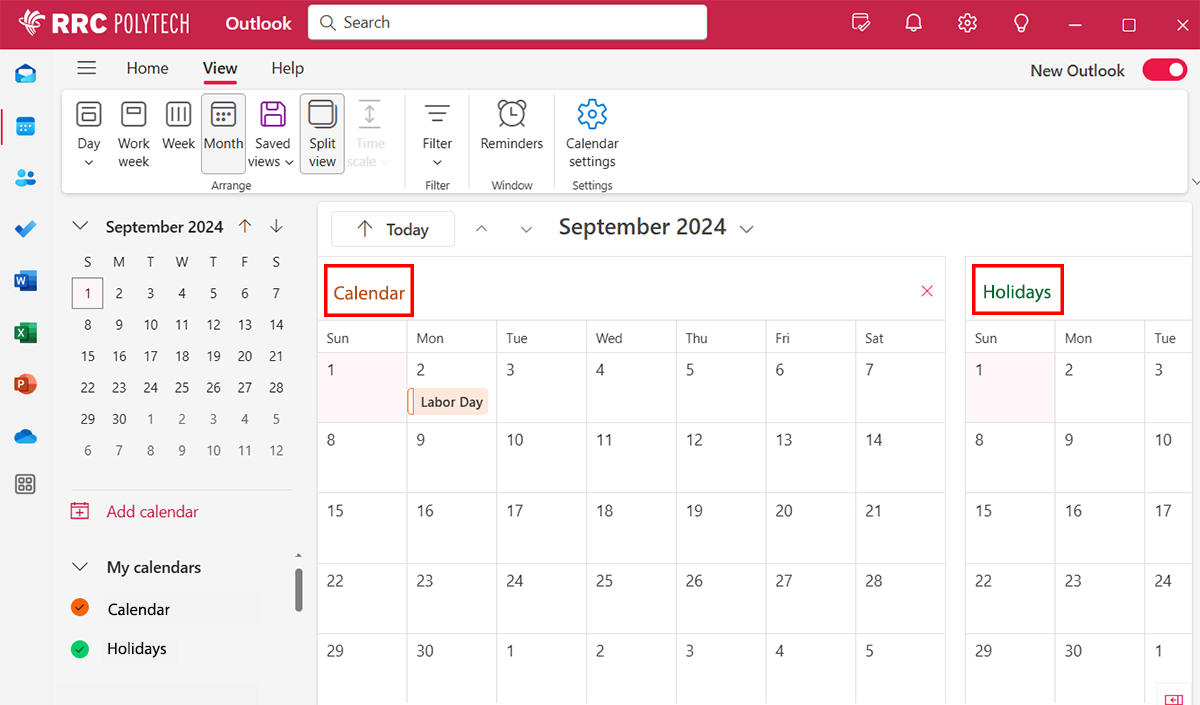
You can choose to have two or more calendars’ information in an overlay with each other or to view the calendars side by side.
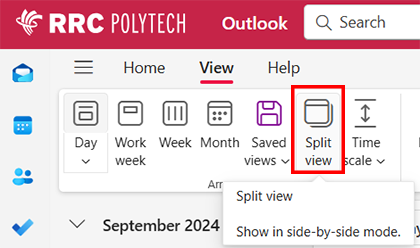
This is the side by side split view of two calendars. On the left side, ensure you select two or more calendars to proceed. Click Split view to toggle between overlay and side by side.
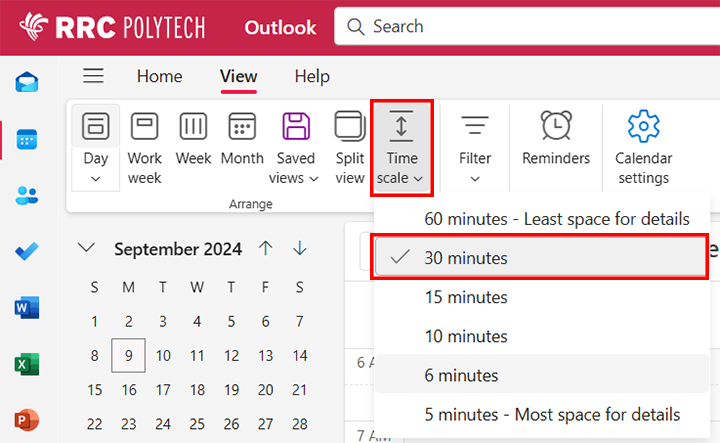
The default time space within your calendar is 30 minute sections. You may select the option that suits your needs.
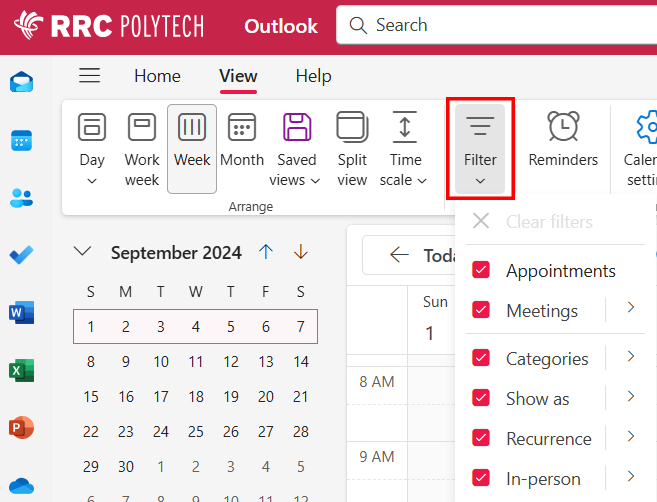
If you need to locate specific information, select from these specific filter options and the many options within each.
These two individual items present options for your reminder requirements and options for the settings in your calendar.

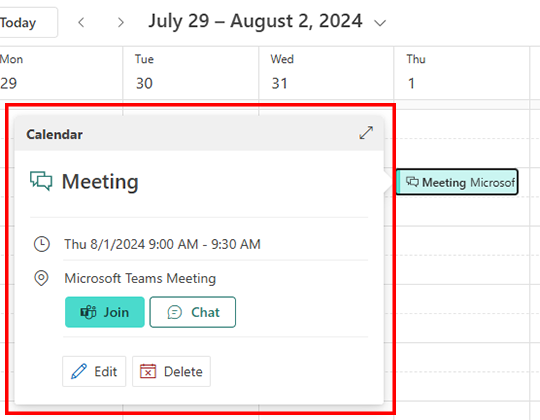
Left click on any calendar entry for its details, including a link to Join a meeting.
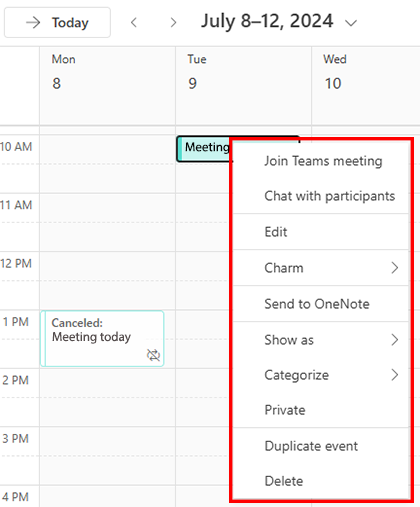
Right click on an event for the menu to edit, categorize, delete, and you can even join the meeting from here as well. Options for each entry may differ based on the calendar entry type.
RRC Polytech campuses are located on the lands of the Anishinaabeg, Ininiwak, Anishininwak, Dakota Oyate, and Denésuline, and the National Homeland of the Red River Métis.
We recognize and honour Treaty 3 Territory Shoal Lake 40 First Nation, the source of Winnipeg’s clean drinking water. In addition, we acknowledge Treaty Territories which provide us with access to electricity we use in both our personal and professional lives.