Communications and Marketing

Mobile Video Production Guidelines

Overview

The following notes are production guidelines for short-form video content intended for social media streams such as Instagram, Facebook and YouTube. By following these guidelines, you may be eligible for marketing support through the College’s primary streams.

Part 1: Speaking and On-camera Demonstration

Lights

Window light example (subject would face shelves)
  • Large, natural light sources such as windows are ideal to create soft, even light.
  • Try to avoid heavy backlighting or direct sunlight.
  • Smaller overhead lights such as pot lights can create hard shadows on faces, so use mobile, shaded lamps to fill shadows if necessary.
  • When shooting outside, look for shaded areas or overcast light.
  • Avoid areas with wind or distracting sounds.

Camera

Settings

  • Stick with the camera’s default video settings:
    • 1080p HD (4K is a bonus).
    • 30 frames per second.
  • Avoid using the digital zoom feature.

Orientation

  • Choose the orientation that is best suited to the social media streams you’re using and keep it consistent – 1920×1080 (horizontal) or 1080×1920 (vertical).
  • Consider vertical orientation for short-form social media content.
  • Use a tripod or stable prop (or colleague) to support your camera at around eye level.

Composition

  • Pre-compose the shot using the front-facing camera (on the back side) for higher quality video.
  • Compose yourself, your tools and important subject matter within the 4:5 safe area.
  • If you have a partner to stand in place or set the camera for you, use ‘exposure lock’ by pressing and holding the screen on the subject’s face for a few seconds before hitting record. (This function could vary by device and shouldn’t be used if the light is changing.)
  • Omit or reduce any distracting background noises such as fans, etc.

Action

Prepare

  • Script dialogue in point form, starting with an introduction looking into the camera.
  • Rehearse or create cue cards to read from off camera, if necessary.
  • Have all necessary tools and objects within frame or within reach.
  • Have finished product created in advance, if necessary.

Repeat

  • Shoot multiple takes as needed until you’re satisfied with the delivery.

Part 2: Capturing Supporting Content

B-roll Footage

If you intend to edit several clips together into a single video, b-roll footage can help provide important details.

  • Capture hand-held footage of the individual tools, components, relevant subject matter and finished products.
  • These shots should help to clarify the speaking points so shoot with your points in mind.
  • Use the same camera settings as established in Part 1.
  • When possible try to shoot in the same environment and with the same light sources used for speaking and demos.
  • Use close-ups, wides and show groups or objects as necessary. (The more you have to work with when editing, the better.)
  • Keep camera movements simple and controlled.
  • Stabilize camera for time-lapse footage if necessary.
Examples of b-roll footage (stills)

Part 3: Finalizing and Distribution

Single Clips

The simplest way to share content is by uploading single clips directly from your device. Depending on the scope of your intended campaign, your technical abilities, time and resources, this could be the best solution.

Some platforms such as Instagram have options for sequencing single clips through carousel posts, stories and highlights.

Editing

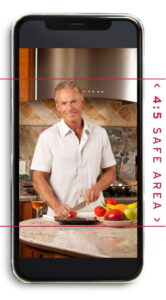
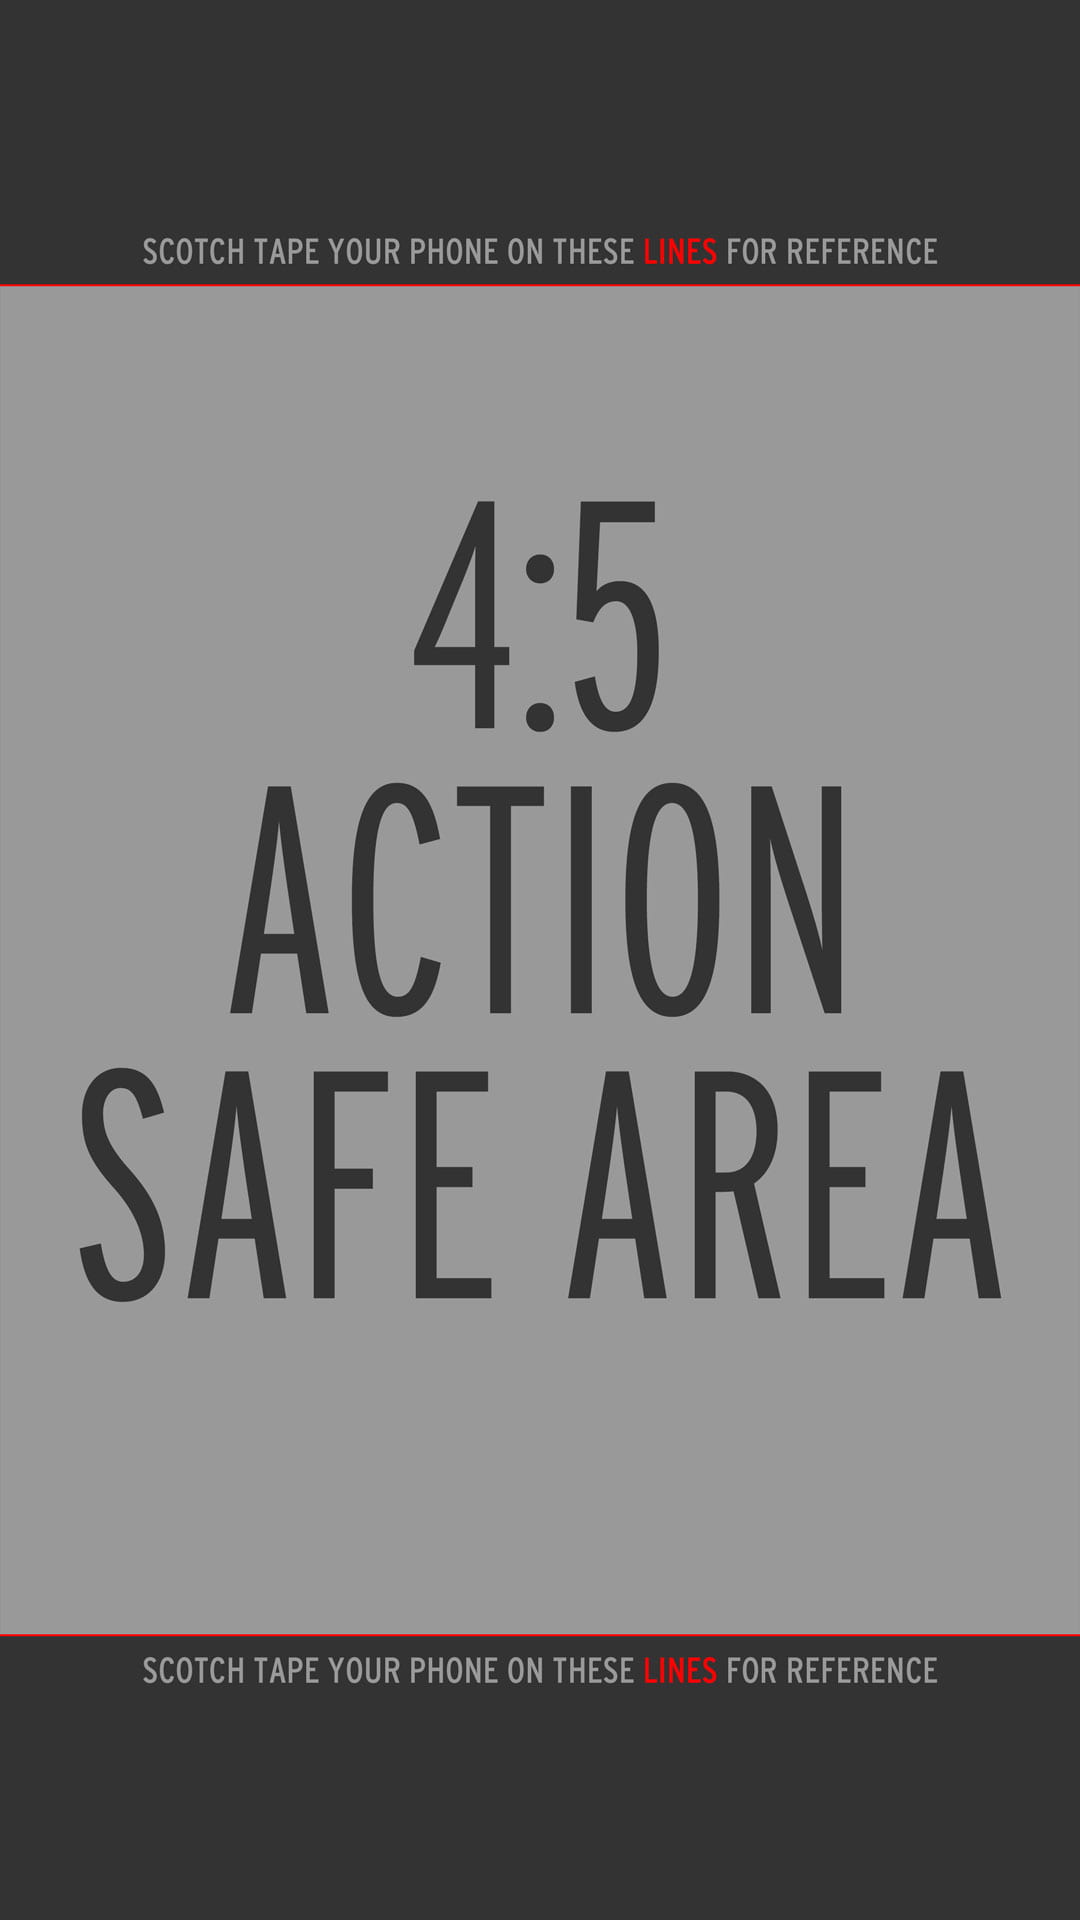
If you intend to edit several clips together into a single video using a combination of speaking, demonstration and b-roll footage, please keep the following points in mind:

  • Less is more (keep it simple and concise)
  • Do not use the College logo or any on-screen text or graphics
  • Do not use music
  • Do not apply filters or use effects except for basic exposure colour correction.
  • Use hard cuts (reserve short cross fades for lapses in time if necessary).
  • Use your b-roll to hide cuts in the speaking where possible.
  • Ensure export quality meets the optimal technical requirements for your intended platforms.

Sharing

  • Upload files to intended social media platforms complete with any necessary descriptive info for context.
  • Use hashtags to help reach your target audience.
  • If you’re editing on a desktop computer, transfer final files to Dropbox (or other) to avoid file compression when moving files back to your device or sharing externally.

RRC Polytech campuses are located on the lands of Anishinaabe, Ininiwak, Anishininew, Dakota, and Dené, and the National Homeland of the Red River Métis.

We recognize and honour Treaty 3 Territory Shoal Lake 40 First Nation, the source of Winnipeg’s clean drinking water. In addition, we acknowledge Treaty Territories which provide us with access to electricity we use in both our personal and professional lives.

Learn more ›